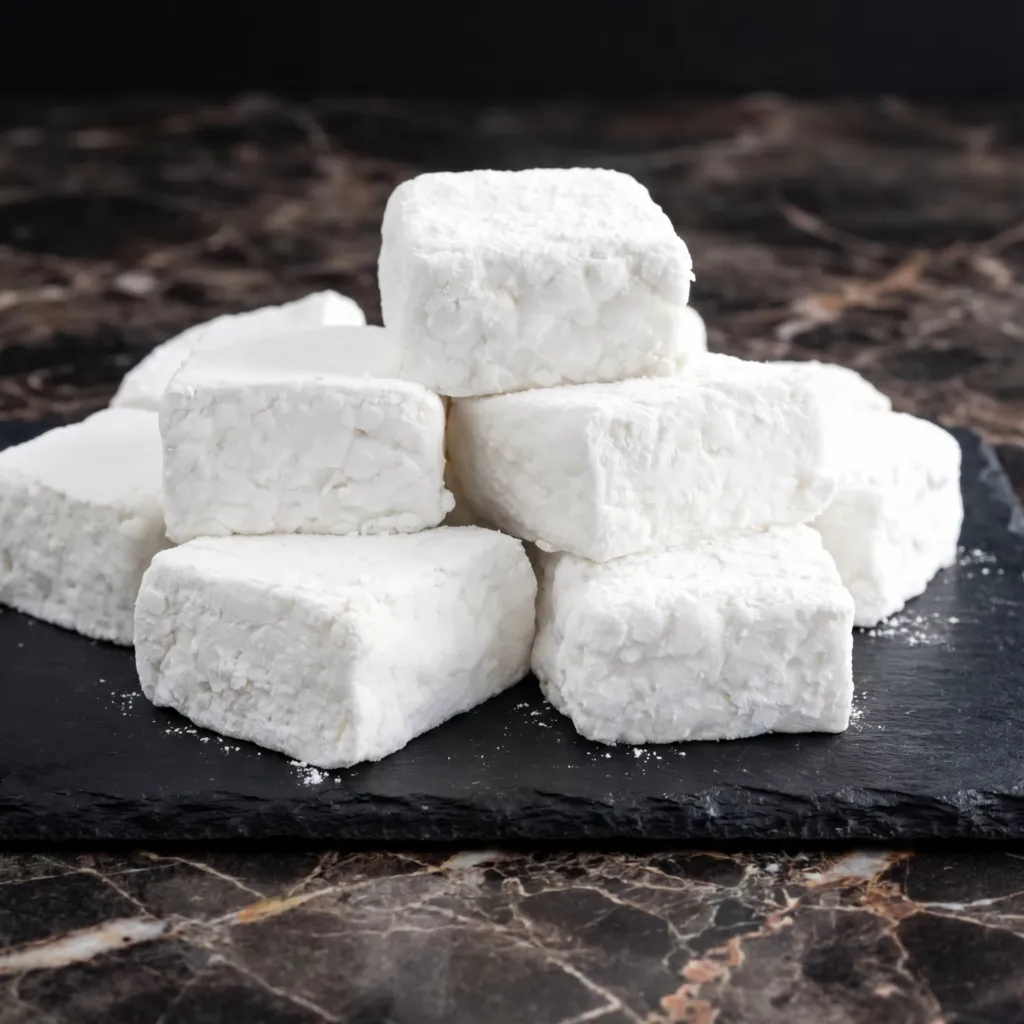
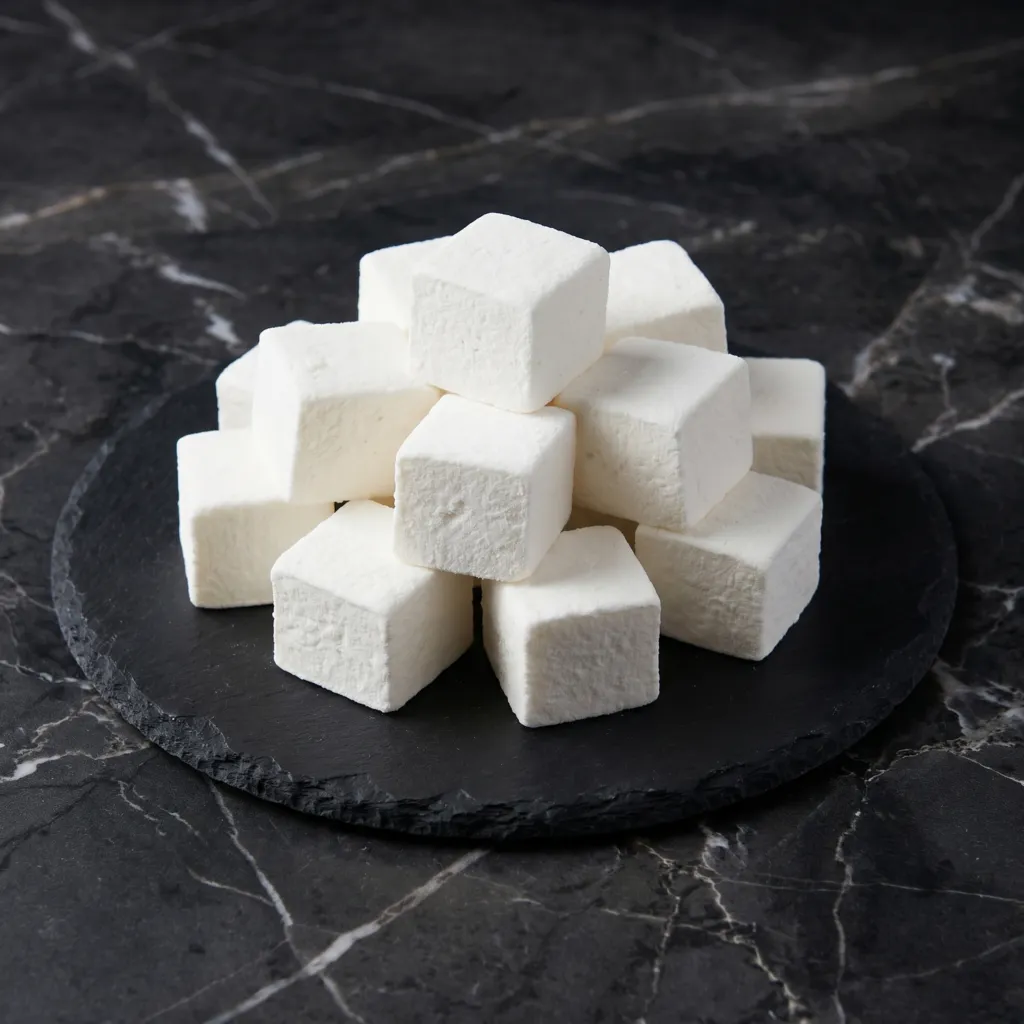
Let’s be honest: store-bought marshmallows are fine. They’re convenient, they’re there, they do the job in s’mores and hot cocoa. But homemade marshmallows? They’re a whole different universe. Fluffy, pillowy, impossibly soft, and melt-in-your-mouth delicious.
They’re infused with real vanilla (or honey, or even peppermint) and have a texture that store-bought can only dream of. Toast them over a campfire, float them in hot chocolate, or just eat them by the handful—you won’t be able to stop. Yes, they take a little time and a candy thermometer, but the result is pure magic. Let’s make some clouds.
Instructions
Prep the Pan
Line an 8×8 or 9×9-inch baking pan with parchment paper, leaving overhang on two sides. Generously dust the bottom and sides with a mixture of half powdered sugar and half cornstarch. This prevents sticking.
Bloom the Gelatin
In the bowl of a stand mixer, sprinkle the gelatin over ½ cup cold water. Let it sit for 10 minutes to soften and bloom.
Make the Sugar Syrup
In a medium saucepan, combine the sugar, ½ cup water, corn syrup, and salt. Stir gently to combine. Bring to a boil over medium-high heat, then stop stirring. Attach a candy thermometer and cook until the syrup reaches 240°F (115°C), the soft-ball stage.
Combine Syrup and Gelatin
With the mixer running on low speed, carefully pour the hot sugar syrup into the bloomed gelatin. It will be very hot—be careful. Once all the syrup is added, gradually increase the speed to high.
Whip
Whip on high speed for 10-15 minutes until the mixture is thick, glossy, white, and holds stiff peaks. It will triple in volume and become like marshmallow fluff. Add the vanilla extract during the last minute of whipping.
Pour into Pan
Quickly scrape the marshmallow mixture into the prepared pan. Use a spatula (lightly oiled or sprayed with non-stick spray) to spread it evenly into the corners and smooth the top.
Dust the Top
Generously dust the top with more powdered sugar-cornstarch mixture. Let it sit uncovered at room temperature for at least 4 hours, preferably overnight, until completely set.
Remove from Pan
Use the parchment overhang to lift the marshmallow block out of the pan. Place on a cutting board dusted with the powdered sugar mixture.
Cut the Marshmallows
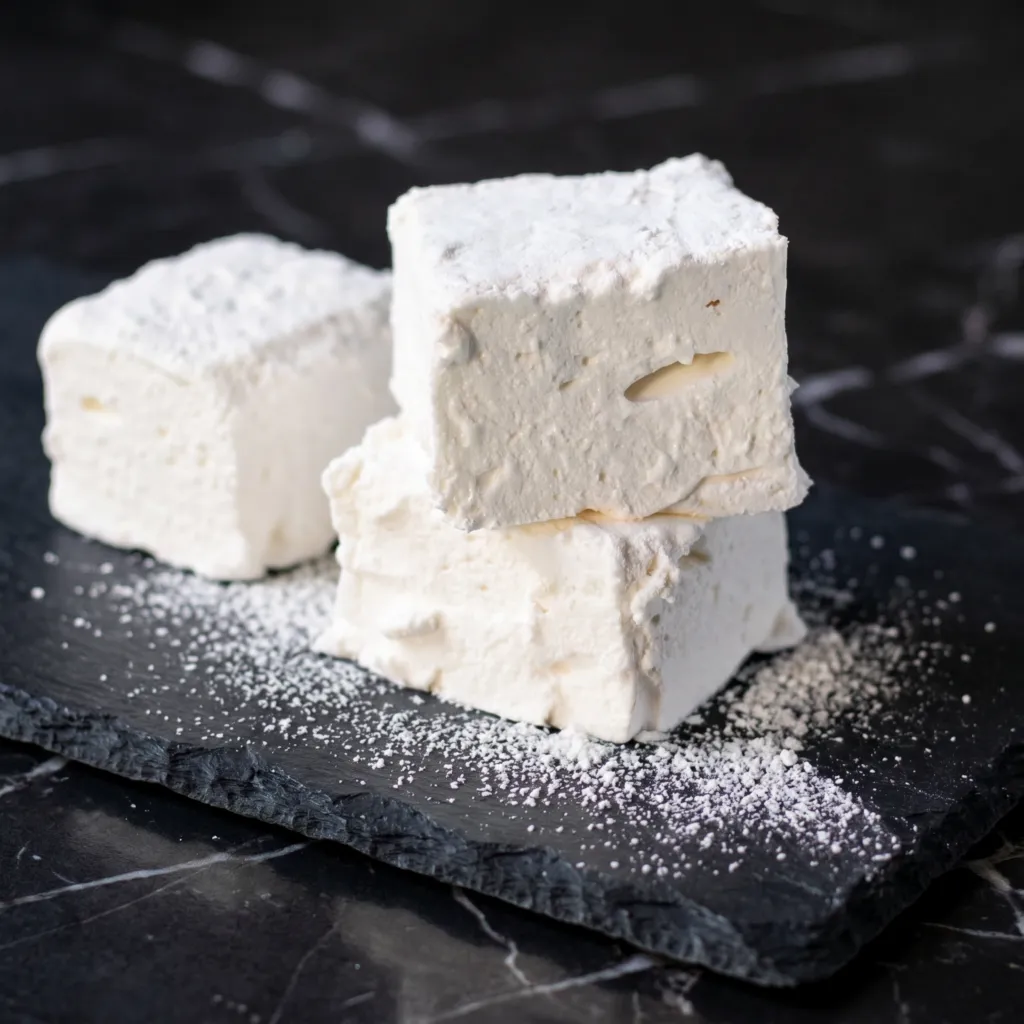
Use a sharp knife or pizza cutter dusted with the powdered sugar mixture to cut the marshmallows into squares. Dust the knife between cuts to prevent sticking.
Coat the Cut Sides
Toss the cut marshmallows in more powdered sugar mixture to coat all sides. This prevents them from sticking together.
Dry (Optional)
Let the cut marshmallows sit out on a baking sheet for a few hours to dry slightly. This gives them a more “store-bought” texture, but they’re delicious either way.
Store
Store in an airtight container at room temperature for up to 3 weeks.
Pro-Tips for Marshmallow Greatness
- Use a Candy Thermometer: Precision is key. A candy thermometer ensures you hit that perfect 240°F.
- Don’t Rush the Whipping: The mixture needs a full 10-15 minutes to reach the right consistency. Be patient.
- Work Quickly When Pouring: The marshmallow mixture sets fast. Have your pan ready and work efficiently.
- Dust Generously: Marshmallows are sticky. Use plenty of powdered sugar-cornstarch mixture to prevent sticking.
- Customize Your Flavors: Try peppermint, almond, or even a swirl of raspberry puree for endless variations.