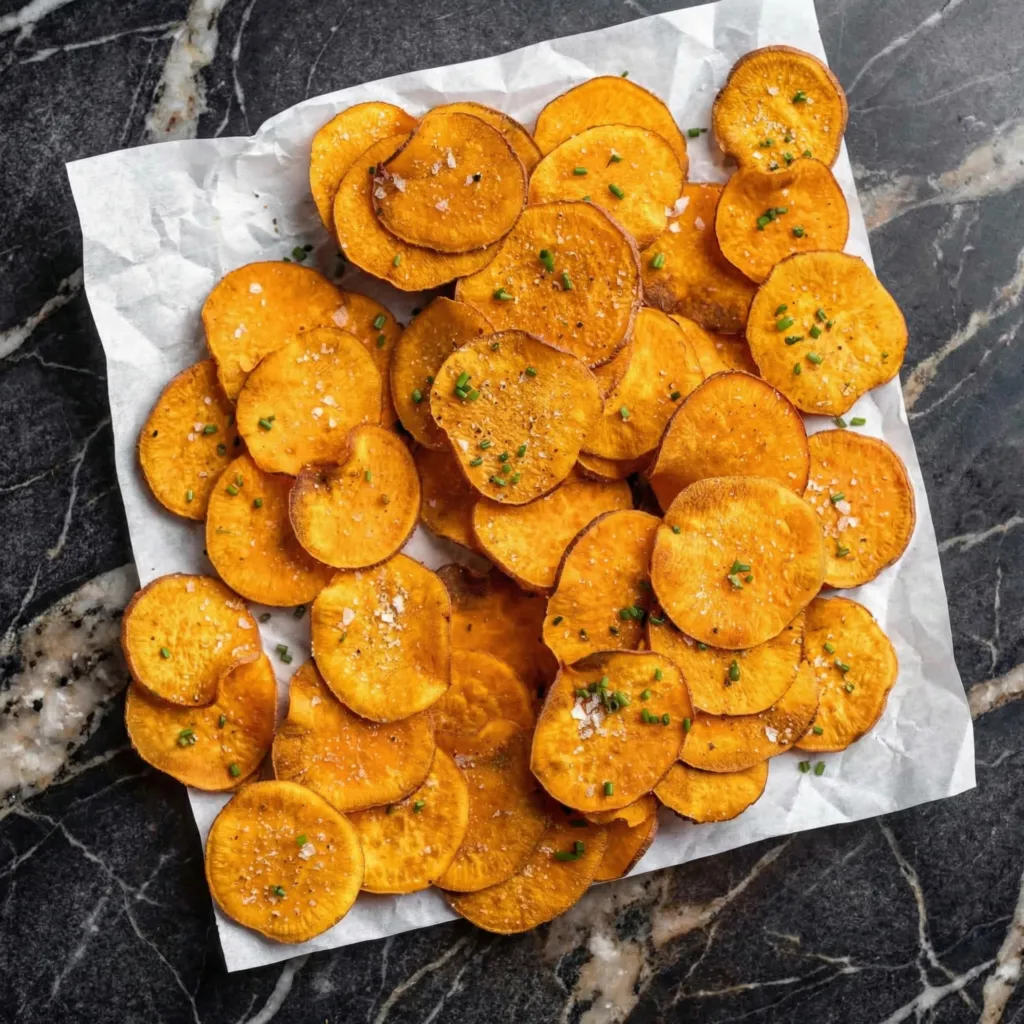
There is something magical about a potato chip made from scratch—thin enough to see light through, shatteringly crisp, and seasoned exactly to your taste. These homemade potato chips deliver that magic with just potatoes, oil, and salt. No dehydrators, no specialized equipment, and no mystery ingredients.
Whether you’re craving the nostalgic simplicity of classic salted chips or want to experiment with your own seasonings, this recipe produces a batch of golden, kettle-style chips that rival anything from a bag. Perfect for game day spreads, backyard barbecues, or simply satisfying a salty snack craving.
Slice the Potatoes
Scrub the potatoes clean. Using a mandoline slicer or a very sharp knife, slice the potatoes into uniformly thin rounds, about ⅛ inch thick or thinner. Consistency in thickness is essential for even cooking. As you slice, place the rounds into a large bowl of ice water to remove excess starch and prevent browning.
Soak and Rinse
Let the potato slices soak in the ice water for at least 30 minutes, or up to 2 hours. This step removes surface starch, which helps the chips crisp up rather than stick together. Drain and rinse the slices under cold running water until the water runs clear. Spread them onto clean kitchen towels and pat thoroughly dry. Any remaining moisture will cause dangerous oil splatter.
Heat the Oil
In a heavy-bottomed pot or Dutch oven, add oil to a depth of about 2 inches. Heat the oil to 325°F (165°C). Use a deep-fry or candy thermometer to monitor temperature accurately.
Fry the Chips
Working in small batches to avoid crowding, carefully add a single layer of potato slices to the hot oil. Fry for 4 to 6 minutes, stirring occasionally with a spider skimmer or slotted spoon to prevent sticking.
The chips will bubble vigorously at first as water evaporates, then the bubbling will subside. When the chips turn pale golden and the bubbling slows significantly, increase the heat to bring the oil to 350°F (175°C) and fry for an additional 1 to 2 minutes until deeply golden and crisp.
Drain and Season
Using a spider skimmer, transfer the finished chips to a paper towel-lined baking sheet to drain excess oil. While still hot and glistening, season immediately with fine sea salt or your desired seasoning blend.
The residual oil helps the seasoning adhere. Repeat with remaining batches, allowing the oil to return to 325°F between batches.
Cool and Store
Allow the chips to cool completely on the baking sheet—they will continue to crisp as they cool. Store in an airtight container at room temperature for up to 5 days, though they are best enjoyed within the first 24 hours.
Pro-Tips for Picture-Perfect Chips
- Use a Mandoline: Achieving uniformly thin slices is nearly impossible by knife alone. A mandoline ensures consistency and prevents thick spots that won’t crisp properly.
- Choose the Right Potato: Russet potatoes are ideal for chips due to their high starch and low moisture content. Yukon Golds produce a creamier, slightly richer chip but require slightly longer frying. Avoid waxy potatoes like red or new potatoes.
- Don’t Skip the Soak: Soaking removes excess starch that can cause chips to stick together and inhibits crisping. For extra-crispy results, you can soak for up to 24 hours in the refrigerator.
- Maintain Oil Temperature: Adding cold potatoes drops the oil temperature. Adjust your heat to maintain a steady 325°F to 350°F range throughout frying.
- Season Immediately: Salt and seasonings stick only to hot, freshly fried chips. Waiting even a few minutes results in seasoning that slides right off.
These Crispy Homemade Potato Chips are a revelation—proof that the simplest ingredients, handled with care, produce something extraordinary.