Pie is wonderful. But let’s be honest: pie can be a project. The rolling, the chilling, the crimping, the fear of a soggy bottom. These Cherry Pie Bars are the answer.
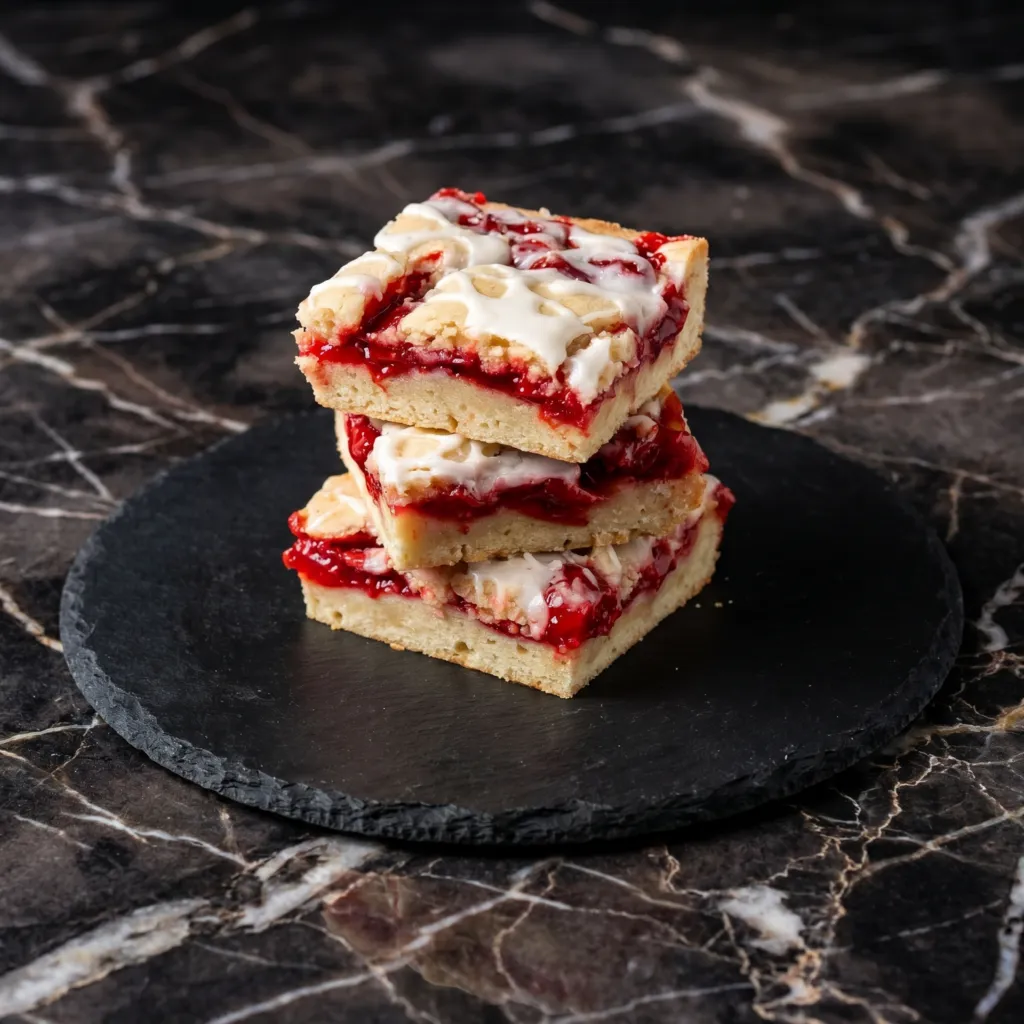
They have everything you love about cherry pie—that sweet-tart filling, the buttery crust, the crumbly topping—but in an easy, sliceable bar form that comes together in minutes. A buttery shortbread crust, a generous layer of cherry pie filling, and a golden oat crumble topping bake into the most irresistible dessert.
Serve them warm with vanilla ice cream, pack them for picnics, or just stand at the counter and eat one (or three). No judgment here.
The Secret to Perfectly Layered Pie Bars
The key to great cherry pie bars is building the layers correctly. Start with a sturdy shortbread crust that’s pressed firmly into the pan—this creates a solid base that won’t crumble when you cut.
The cherry filling goes right on top, and here’s the secret: use high-quality cherry pie filling or make your own with fresh or frozen cherries. The filling should be thick, not runny, so it doesn’t soak into the crust.
The oat topping is the final layer, and the secret there is cold butter, cut into the dry ingredients until you have craggy, buttery clumps. Bake until golden and bubbly, cool completely (this is crucial for clean cuts), and you’ve got bars that taste like pie without the fuss.
Instructions
Preheat and Prep
Preheat your oven to 375°F (190°C). Grease a 9×13-inch baking pan or line it with parchment paper, leaving overhang on the long sides for easy removal.
Make the Crust
In a large bowl, combine the flour, granulated sugar, and salt. Add the cold butter cubes and vanilla extract. Use a pastry blender, fork, or your fingertips to cut the butter into the flour until the mixture resembles coarse crumbs with pea-sized butter pieces. Press the mixture firmly and evenly into the bottom of the prepared pan.
Pre-Bake the Crust
Bake the crust for 15-18 minutes until lightly golden around the edges. Remove from the oven (leave oven on).
Make the Oat Topping
In a separate bowl, combine the flour, brown sugar, oats, cinnamon, and salt. Add the cold butter cubes and cut in until the mixture forms craggy, buttery clumps of various sizes.
Add Cherry Filling
Spread the cherry pie filling evenly over the warm pre-baked crust.
Add Topping
Sprinkle the oat crumble topping evenly over the cherry layer, covering as much as possible.
Bake
Bake for 25-30 minutes until the topping is golden brown and the filling is bubbly around the edges.
Cool Completely
Let the bars cool completely in the pan on a wire rack. This is essential for clean slices—at least 2 hours.
Slice
Once completely cool, use the parchment overhang to lift the bars out of the pan. Place on a cutting board and slice into squares or bars with a sharp knife.
Serve
Dust with powdered sugar if desired and serve. Extra delicious with vanilla ice cream.
Store
Store in an airtight container at room temperature for up to 3 days, or in the refrigerator for up to 5 days.
Pro-Tips for Cherry Pie Bar Greatness
- Use Cold Butter: Cold butter is essential for a flaky crust and crumbly topping. If the butter softens, pop the dough in the fridge for 10 minutes.
- Cool Completely Before Slicing: Warm bars will fall apart. Patience is rewarded with clean, beautiful squares.
- Make Your Own Filling: For an extra-special treat, make your own cherry filling with fresh or frozen cherries, sugar, and a little cornstarch.
- Customize the Fruit: Swap cherry for apple, blueberry, peach, or any pie filling you love.
- Serve Warm with Ice Cream: If you can’t resist warm bars, serve them in bowls with vanilla ice cream—soggy bars don’t matter when they’re à la mode.